Install Aluminum Windows: A Professional Step-by-Step Fitting Guide
Site Preparation and Accurate Measuring
Before you begin to install aluminum windows, you must prepare the rough opening. First, clean the masonry or timber frame to remove any old debris or dust. Additionally, check the opening dimensions at multiple points. Even a small measurement error can cause gaps that lead to air leakage.
Gather all necessary tools, such as a spirit level, drill, and high-quality silicone sealant. Furthermore, prepare plastic shims to help you level the frame later. Proper preparation reduces the risk of errors during the mechanical fixing stage. Consequently, your windows will operate more smoothly over time.
Positioning and Leveling the Aluminum Frame
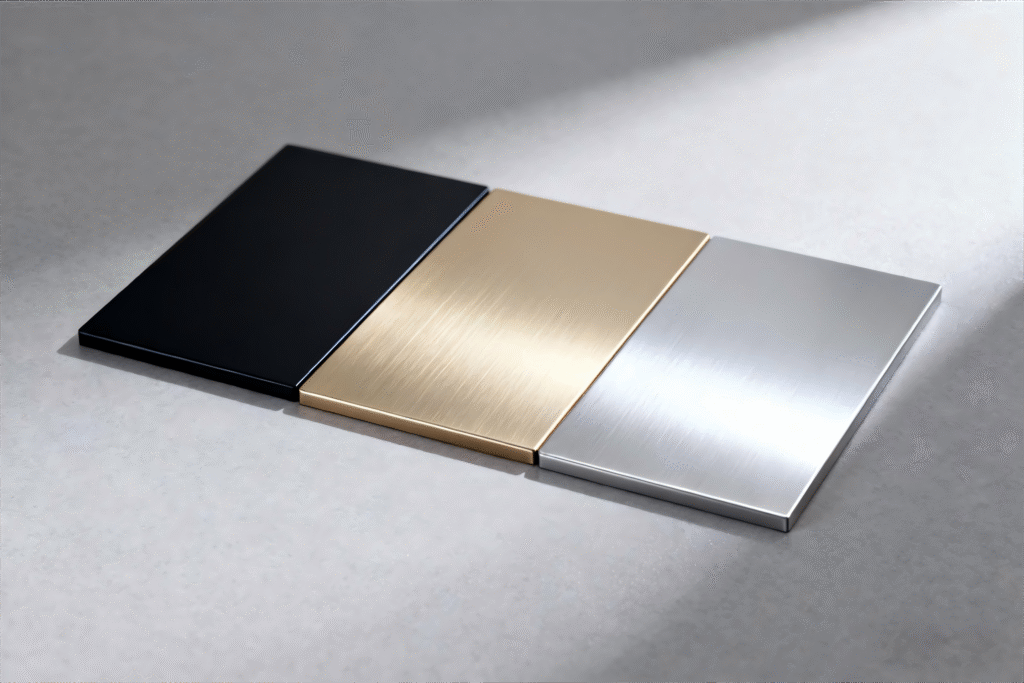
Carefully place the aluminum frame into the opening. It is best to have two people handle this task to prevent any damage to the powder-coated surface. Once the frame is in place, insert plastic shims to create a consistent gap between the frame and the wall.
Mechanical Fixing and Professional Sealing
Once you level the frame, you can start the mechanical fixing. Drill holes through the aluminum profile and into the wall structure. Space these fixings about 400mm apart for maximum stability. Use expansion bolts to secure the frame, but do not over-tighten them. Over-tightening can bend the aluminum and ruin the window’s function.
Next, focus on weatherproofing the window. Apply a continuous bead of high-grade silicone sealant around the external perimeter. This step is crucial to prevent water infiltration. Additionally, use expanding foam in the internal cavity to boost thermal performance. Properly sealed frames save energy and keep the building interior comfortable.
Final Sash Installation and Testing
After you secure and seal the frame, you can attach the casement sash and the glass units. Most installers use EPDM gaskets for a tight, dry-glazing seal. Carefully fit the glass into the sash and snap the glazing beads into place. Afterward, install the handles and hinges.
Finally, conduct a thorough functional test. Open and close the window several times to check the friction stays. Ensure the locking system engages smoothly without resistance. If the window operates correctly, your project now benefits from high-quality, durable aluminum systems.